Here's the HTML-formatted guide:
Building a Raspberry Pi Home Network Security Monitor with Open-Source Intrusion Detection Software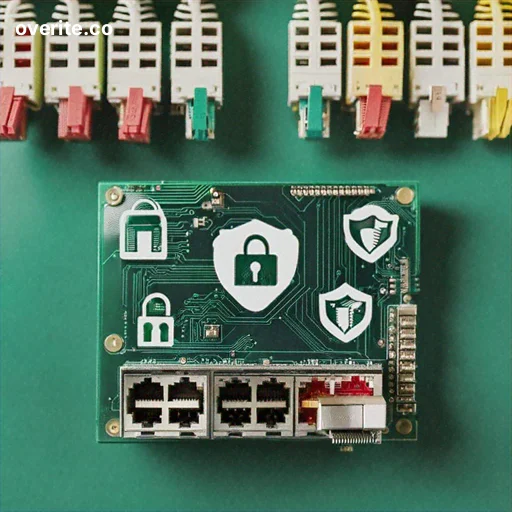
Introduction
In today's interconnected world, home network security is more critical than ever. This comprehensive DIY guide will walk you through creating a powerful, cost-effective network monitoring system using a Raspberry Pi and open-source intrusion detection software. By the end of this tutorial, you'll have a robust security monitor that can detect and alert you to potential network threats.
Required Materials
Before getting started, gather the following components: • Raspberry Pi 4 (4GB or 8GB RAM recommended) • MicroSD card (32GB or larger) • Ethernet cable • Power supply • Network switch or router • Computer with SD card reader • Optional: External storage drive
Step 1: Prepare the Raspberry Pi Operating System
Begin by downloading the latest Raspberry Pi OS (64-bit) from the official website. Use Balena Etcher to write the OS image to your microSD card. When configuring the initial setup: • Enable SSH • Configure network settings • Set a strong password • Update all system packages
Step 2: Install Intrusion Detection Software
We'll use Suricata, a powerful open-source network security monitoring tool. Install it using these terminal commands: ```bash sudo apt-get update sudo apt-get install suricata sudo suricata-update ``` Configure Suricata to monitor your network interface: • Identify your network interface (typically eth0) • Edit the Suricata configuration file • Set up logging and alert mechanisms
Step 3: Configure Network Monitoring Rules
Suricata uses rule sets to detect potential security threats. You can: • Use pre-configured rule sets from emerging threats • Create custom rules for specific network behaviors • Regularly update rule sets to maintain current threat detection Example custom rule creation: ``` alert tcp any any -> $HOME_NET any (msg:"Potential Port Scan Detected"; flags: S; threshold: type limit, track by_src, count 5, seconds 60; sid:1000001; rev:1;) ```
Step 4: Set Up Logging and Alerts
Configure centralized logging and notification systems: • Use Elasticsearch and Kibana for log management • Set up email or SMS alerts for critical events • Create dashboard visualizations of network traffic Install required packages: ```bash sudo apt-get install elasticsearch kibana sudo systemctl enable elasticsearch sudo systemctl enable kibana ```
Step 5: Optimize Performance and Storage
To ensure long-term monitoring: • Use an external USB drive for log storage • Implement log rotation to manage disk space • Configure automatic backups • Set up periodic rule and system updates Create a log rotation configuration: ```bash sudo nano /etc/logrotate.d/suricata /var/log/suricata/*.log { daily rotate 7 compress delaycompress missingok notifempty } ```
Step 6: Advanced Security Enhancements
Additional security recommendations: • Enable firewall rules using UFW • Implement VPN access for remote monitoring • Use fail2ban to prevent brute-force attacks • Regularly audit system logs • Keep all software updated
Maintenance and Ongoing Management
To keep your network security monitor effective: • Monthly rule set updates • Quarterly system software upgrades • Regular performance and log reviews • Test and validate detection capabilities • Stay informed about emerging network threats
Troubleshooting Common Issues
Potential challenges and solutions: • High CPU usage: Optimize Suricata rules • False positive alerts: Refine detection parameters • Network performance impact: Adjust monitoring sensitivity • Storage constraints: Implement aggressive log rotation
Conclusion
By following this guide, you've created a powerful, customizable home network security monitoring system using a Raspberry Pi. This solution provides affordable, flexible protection against potential cyber threats, giving you greater visibility and control over your home network.
Legal and Ethical Considerations
Remember to: • Only monitor networks you own or have explicit permission to monitor • Comply with local privacy and surveillance regulations • Use security tools responsibly and ethically