Here's the HTML-formatted DIY guide:
Building a Raspberry Pi-Powered Smart Home Security Camera with Computer Vision and Machine Learning
Introduction
In this comprehensive guide, we'll walk you through creating a sophisticated smart home security camera using a Raspberry Pi, leveraging cutting-edge computer vision and machine learning technologies. This project will transform a simple camera into an intelligent security system capable of detecting, tracking, and alerting you to potential threats.
Materials and Tools Needed
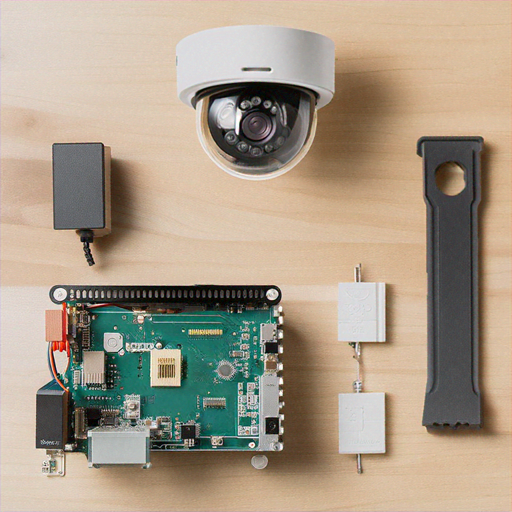
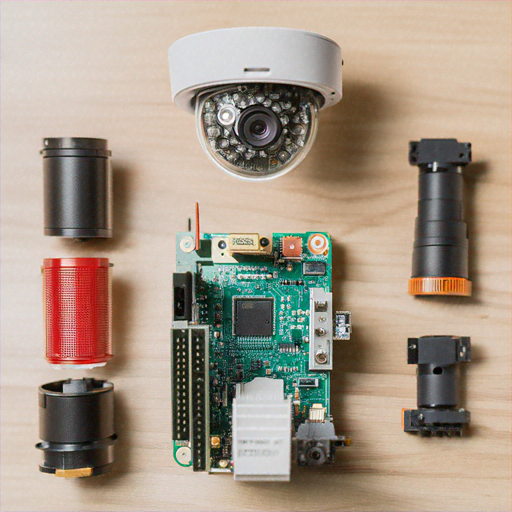
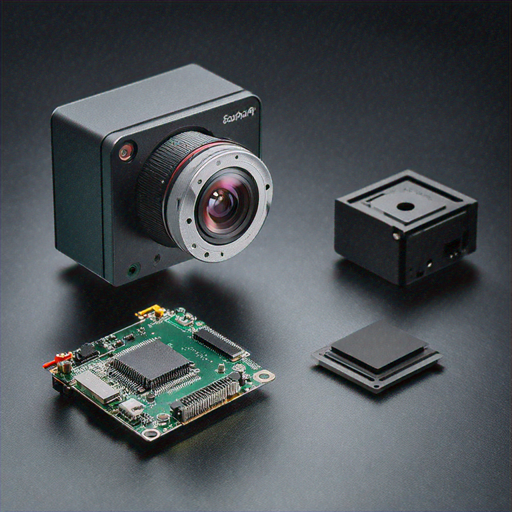
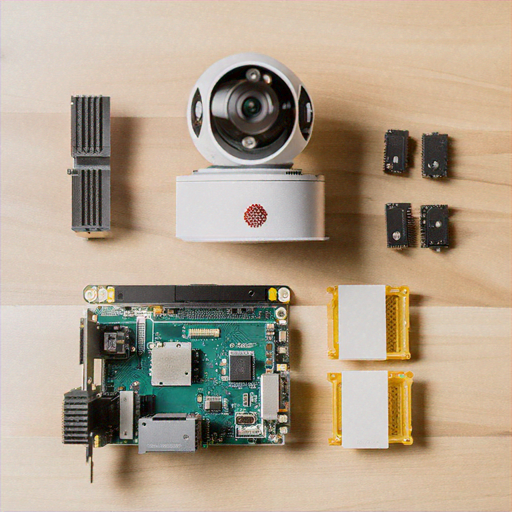
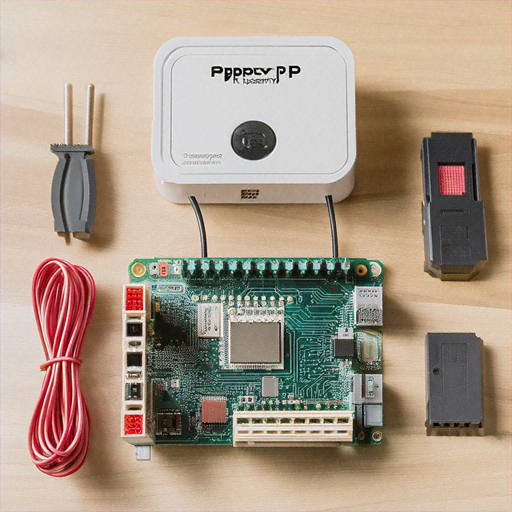
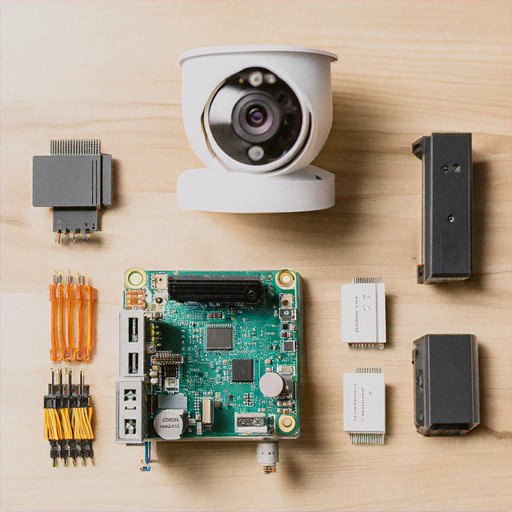
Before we begin, gather the following components: • Raspberry Pi 4 (4GB or 8GB RAM recommended) • Raspberry Pi Camera Module V3 • 32GB or larger microSD card • Power supply • Ethernet cable or Wi-Fi dongle • Laptop or desktop computer • Protective case • Optional: Pan-tilt HAT for camera movement

Step 1: Preparing the Raspberry Pi
1. Download the latest Raspberry Pi OS (64-bit) from the official website 2. Use Balena Etcher to flash the OS onto your microSD card 3. Enable SSH and configure Wi-Fi settings in the boot partition 4. Insert the microSD card into your Raspberry Pi 5. Boot up the device and complete initial setup
Step 2: Installing Required Software
Open a terminal and run the following commands to install necessary libraries: ```bash sudo apt update sudo apt upgrade -y sudo apt install python3-pip python3-opencv libatlas-base-dev pip3 install numpy opencv-python tensorflow picamera2 ``` This will install OpenCV for computer vision, TensorFlow for machine learning, and the Raspberry Pi camera library.
Step 3: Setting Up the Camera
Connect the Raspberry Pi Camera Module to the CSI port: 1. Locate the CSI (Camera Serial Interface) port on your Raspberry Pi 2. Gently lift the plastic connector 3. Insert the camera ribbon cable, ensuring pins are aligned 4. Secure the connector by pushing down the plastic tab
Step 4: Developing the Computer Vision Script
Create a Python script that will handle video capture, object detection, and alerting. Here's a basic implementation: ```python import cv2 import numpy as np import tensorflow as tf from picamera2 import Picamera2 class SecurityCamera: def __init__(self): self.camera = Picamera2() self.model = tf.saved_model.load('pre-trained-model') def detect_objects(self, frame): # Implement object detection logic detections = self.model(frame) return self.filter_relevant_objects(detections) def send_alert(self, objects): # Send email or push notification pass def run(self): while True: frame = self.camera.capture_array() detected_objects = self.detect_objects(frame) if detected_objects: self.send_alert(detected_objects) ```
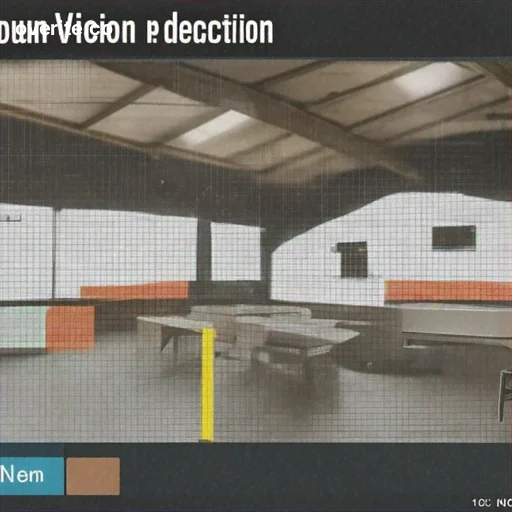
Step 5: Machine Learning Object Detection
For robust object detection, we recommend using pre-trained models like: • YOLO (You Only Look Once) • SSD (Single Shot Detector) • MobileNet These models can identify humans, vehicles, and other potential security threats with high accuracy. Download a pre-trained model and integrate it into your Python script.
Step 6: Configuring Alerts and Notifications
Implement multiple notification methods: 1. Email alerts using SMTP 2. Telegram bot notifications 3. Local network push notifications 4. Optional cloud integration with services like Pushbullet
Step 7: Network and Security Considerations
Secure your Raspberry Pi security camera: • Use strong, unique passwords • Enable firewall • Keep software updated • Use a VPN for remote access • Implement encryption for stored footage
Advanced Features to Consider
Enhance your security camera with: • Night vision support • Motion-activated recording • Cloud storage integration • Multiple camera support • Machine learning-based anomaly detection
Troubleshooting Common Issues
• Camera not detected: Check ribbon cable connection • Performance issues: Upgrade to Raspberry Pi 4 with more RAM • Inaccurate detection: Retrain or switch machine learning models • Network problems: Verify Wi-Fi/Ethernet configuration
Conclusion
Congratulations! You've built a sophisticated, intelligent home security camera using a Raspberry Pi. This DIY project demonstrates the power of combining affordable hardware with advanced computer vision and machine learning techniques.
Estimated Project Costs
• Raspberry Pi 4: $35-$75 • Camera Module: $25 • microSD Card: $10 • Miscellaneous: $20 Total Estimated Cost: $90-$130
Legal and Ethical Considerations
Always respect privacy laws and obtain necessary permissions when setting up security cameras. Inform household members and visitors about camera placement.