Here's the HTML-formatted DIY guide:
Building a Raspberry Pi-Powered AI Home Security Camera with Computer Vision and Machine Learning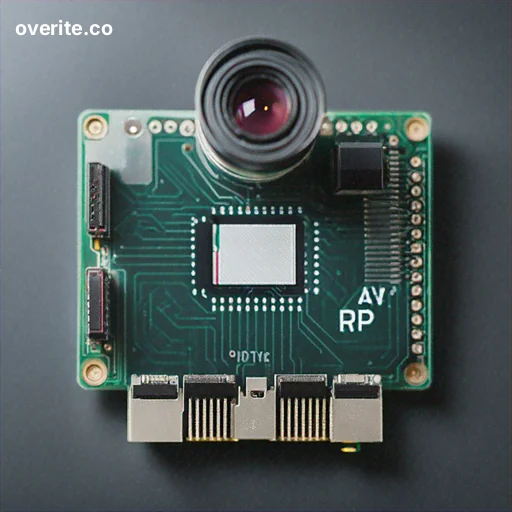
Introduction
In this comprehensive DIY guide, we'll walk you through creating a sophisticated home security camera system using a Raspberry Pi, advanced computer vision techniques, and machine learning algorithms. This project will transform a simple camera into an intelligent surveillance solution that can detect, classify, and alert you about potential security events.
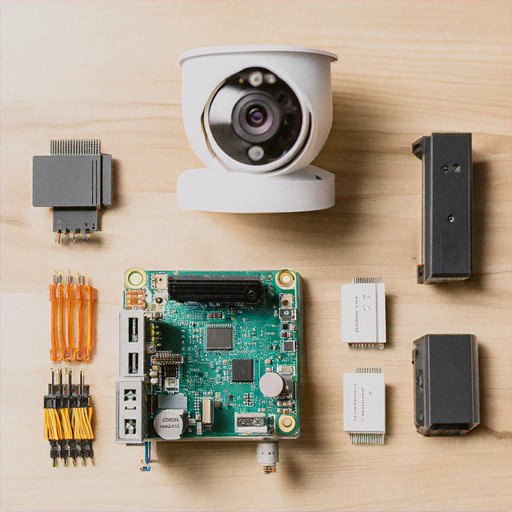
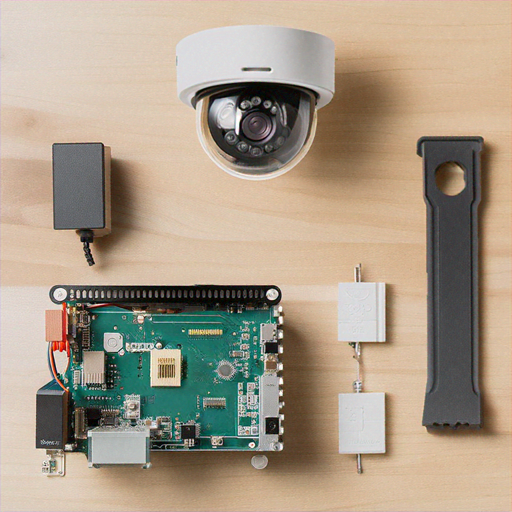
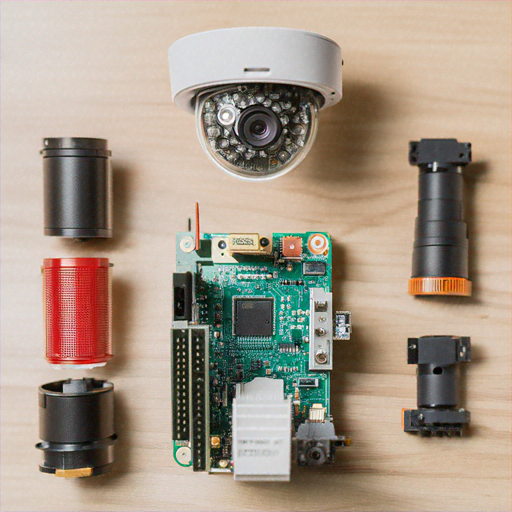
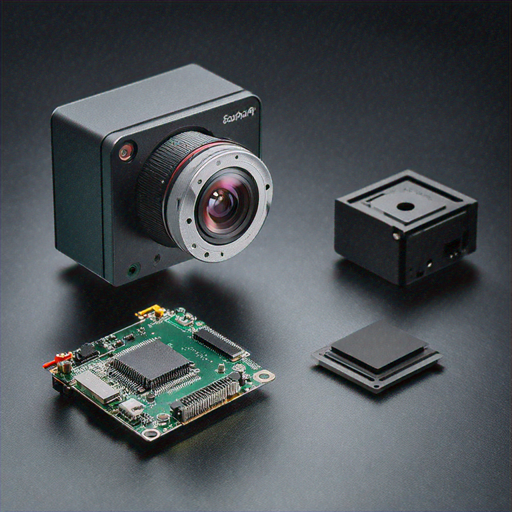
Required Components
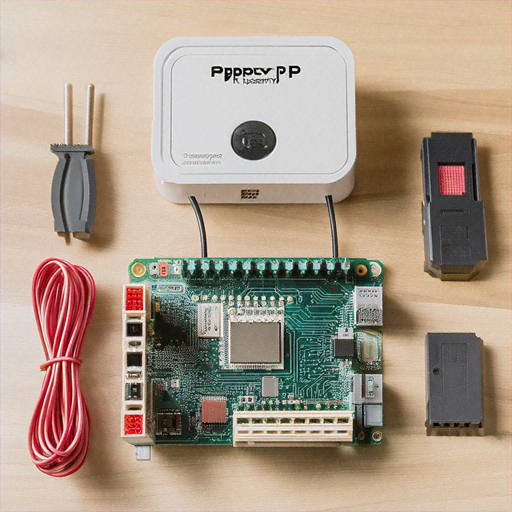
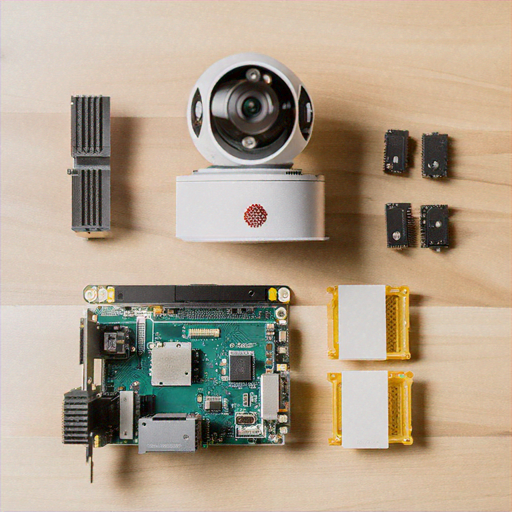
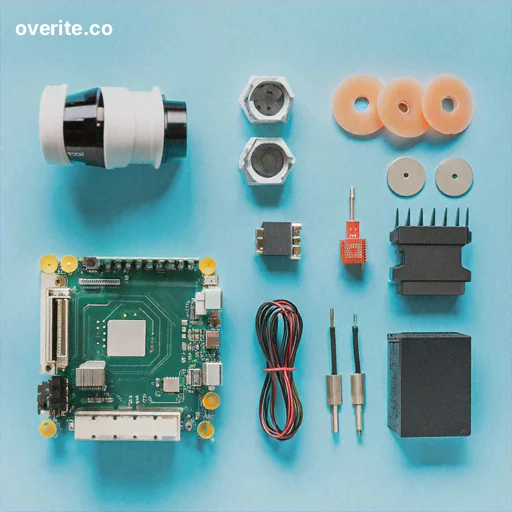
Before starting, gather the following materials: • Raspberry Pi 4 (4GB or 8GB RAM recommended) • Raspberry Pi Camera Module V3 • 32GB or larger microSD card • Power supply • Ethernet cable or Wi-Fi dongle • Laptop or desktop computer • Protective case (optional) • Cooling fan (recommended)
Step 1: Preparing the Raspberry Pi
Begin by installing Raspberry Pi OS on your microSD card: 1. Download the Raspberry Pi Imager from the official website 2. Select Raspberry Pi OS (64-bit) with desktop 3. Write the image to your microSD card 4. Insert the microSD card into your Raspberry Pi 5. Connect peripherals and power on the device
Step 2: Installing Required Software
Open the terminal and run the following commands to install necessary libraries: ```bash sudo apt update sudo apt upgrade -y sudo apt install python3-pip python3-opencv libatlas-base-dev pip3 install numpy opencv-python tensorflow picamera2 ``` This will install OpenCV for computer vision, TensorFlow for machine learning, and the Raspberry Pi camera library.
Step 3: Setting Up the Camera Module
Connect the Raspberry Pi Camera Module V3 to the CSI port: 1. Power off the Raspberry Pi 2. Locate the CSI camera port 3. Gently insert the camera ribbon cable 4. Secure the cable by lifting the port's plastic clip 5. Reboot the Raspberry Pi and verify camera functionality
Step 4: Developing the Computer Vision Script
Create a Python script that implements object detection and tracking: ```python import cv2 import numpy as np import tensorflow as tf from picamera2 import Picamera2 class SecurityCamera: def __init__(self): self.camera = Picamera2() self.model = tf.saved_model.load('pre-trained-model') def detect_objects(self, frame): # Implement object detection logic detections = self.model(frame) return detections def process_frame(self): frame = self.camera.capture_array() objects = self.detect_objects(frame) return objects ``` This script provides a basic framework for object detection using a pre-trained machine learning model.
Step 5: Implementing Notification System
Enhance your security camera with real-time notifications: ```python import smtplib from email.mime.text import MIMEText class NotificationManager: def send_alert(self, detected_objects): if 'person' in detected_objects: msg = MIMEText('Potential security threat detected!') msg['Subject'] = 'Security Alert' # Configure email settings server = smtplib.SMTP('smtp.gmail.com', 587) server.starttls() server.login(EMAIL, PASSWORD) server.send_message(msg) ``` Configure email settings and customize alert conditions based on your preferences.
Step 6: Advanced Machine Learning Integration
Train a custom TensorFlow model to recognize specific objects or individuals: 1. Collect training data 2. Label your dataset 3. Fine-tune a pre-trained model 4. Export the model for Raspberry Pi deployment Consider using transfer learning techniques to improve accuracy with limited computational resources.
Step 7: Power and Performance Optimization
Maximize your Raspberry Pi's efficiency: • Use a high-quality power supply • Install a cooling fan • Optimize script performance • Consider overclocking for enhanced processing • Use lightweight machine learning models
Security and Privacy Considerations
Protect your home security system: • Use strong, unique passwords • Enable two-factor authentication • Regularly update software • Secure your network • Encrypt sensitive data • Implement proper access controls
Troubleshooting Common Issues
If you encounter problems: • Check camera connections • Verify software dependencies • Monitor system temperature • Update Raspberry Pi OS • Consult community forums • Test components individually
Conclusion
Congratulations! You've created a sophisticated AI-powered home security camera using a Raspberry Pi. This project demonstrates the power of combining computer vision, machine learning, and affordable hardware to create intelligent surveillance solutions.
Next Steps and Improvements
Consider future enhancements: • Add night vision capabilities • Implement cloud storage • Create a web interface • Develop mobile notifications • Integrate with smart home systems