Here's the HTML-formatted DIY guide:
Building a Custom Raspberry Pi Home Security Camera with Machine Learning Object Detection
In this comprehensive guide, we'll walk you through creating a powerful, intelligent home security camera using a Raspberry Pi, advanced machine learning techniques, and open-source software. This project combines affordable hardware with cutting-edge object detection technology to provide robust home monitoring.
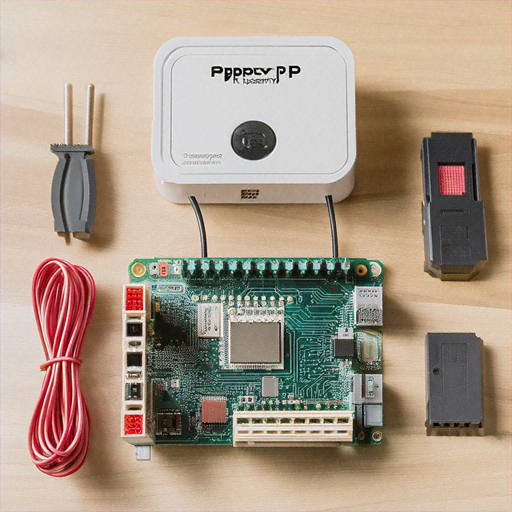
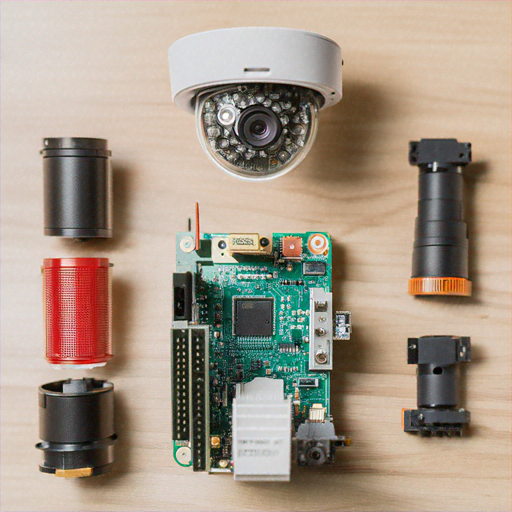
Materials and Components Needed
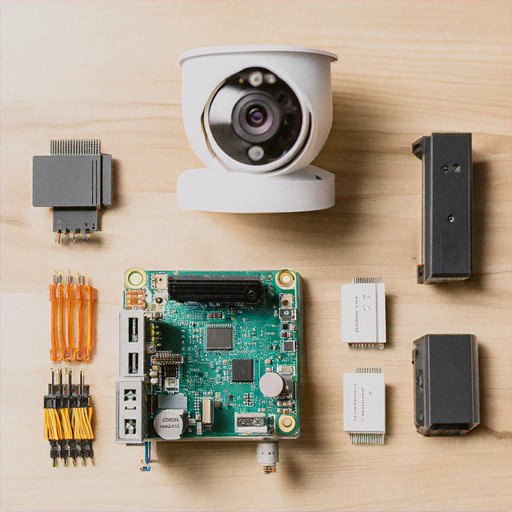
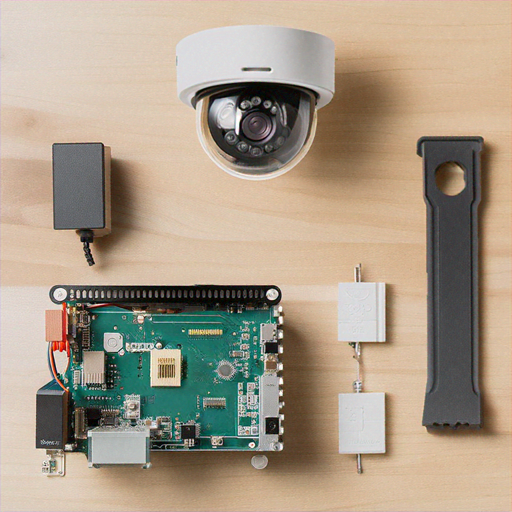
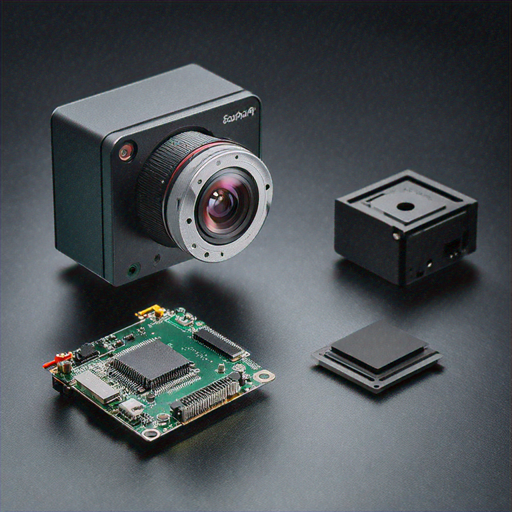
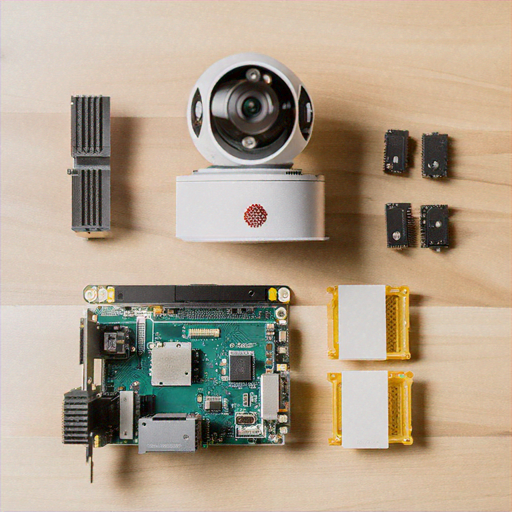
Before we begin, gather the following materials: • Raspberry Pi 4 (4GB or 8GB RAM recommended) • Raspberry Pi Camera Module V2 • MicroSD Card (32GB or larger) • Power Supply (5V, 3A) • Ethernet Cable or Wi-Fi Dongle • Enclosure or Case • Optional: Infrared Camera Module for night vision
Step 1: Preparing the Raspberry Pi
Start by setting up your Raspberry Pi with the latest Raspberry Pi OS: 1. Download Raspberry Pi Imager from the official website 2. Insert microSD card into your computer 3. Select Raspberry Pi OS (64-bit) during installation 4. Configure Wi-Fi and SSH settings during setup 5. Write the image to the microSD card 6. Insert microSD into Raspberry Pi and boot
Step 2: Installing Required Software
Open terminal and run the following commands to install necessary packages: ```bash sudo apt update sudo apt upgrade -y sudo apt install python3-pip python3-opencv libatlas-base-dev pip3 install numpy opencv-python tensorflow picamera ``` This installs Python, OpenCV, TensorFlow, and camera libraries essential for our project.
Step 3: Setting Up Machine Learning Object Detection
We'll use TensorFlow's pre-trained COCO (Common Objects in Context) model for object detection: 1. Download pre-trained model: ```bash wget https://storage.googleapis.com/download.tensorflow.org/models/official/20181001_resnet/saved_model/saved_model.pb ``` 2. Create Python script for object detection: ```python import cv2 import numpy as np import tensorflow as tf def detect_objects(frame): # Load pre-trained model model = tf.saved_model.load('saved_model') # Perform object detection detections = model(frame) # Process and draw bounding boxes for detection in detections: # Draw rectangle and label cv2.rectangle(frame, detection['bbox'], (0, 255, 0), 2) ```
Step 4: Implementing Motion Detection and Alerts
Enhance security by adding motion detection and notification system: ```python import smtplib from email.mime.text import MIMEText def send_alert(detected_objects): msg = MIMEText(f"Security Alert: {detected_objects} detected!") msg['Subject'] = "Home Security Notification" msg['From'] = "raspi_security@yourdomain.com" msg['To'] = "your_email@example.com" # Send email via SMTP smtp_server = smtplib.SMTP('smtp.gmail.com', 587) smtp_server.starttls() smtp_server.login(username, password) smtp_server.send_message(msg) ```
Step 5: Continuous Recording and Storage
Implement video recording and storage management: ```python import os from datetime import datetime def record_video(duration=60): timestamp = datetime.now().strftime("%Y%m%d_%H%M%S") filename = f"/home/pi/security_footage/{timestamp}.mp4" # Record video for specified duration camera.start_recording(filename) camera.wait_recording(duration) camera.stop_recording() # Manage storage by deleting old recordings manage_storage() ```
Step 6: Configuring Startup and Autorun
Ensure your security system starts automatically on Raspberry Pi boot: 1. Edit rc.local file: ```bash sudo nano /etc/rc.local ``` 2. Add script launch before exit 0: ```bash python3 /home/pi/security_camera.py & ``` 3. Save and reboot Raspberry Pi
Advanced Configuration Tips
Consider these enhancements: • Use cloud storage for footage backup • Implement more sophisticated machine learning models • Add multiple camera support • Create web interface for remote monitoring
Security and Privacy Considerations
Protect your system: • Use strong passwords • Keep software updated • Enable firewall • Use VPN for remote access • Encrypt stored footage
Troubleshooting Common Issues
If you encounter problems: • Check camera connections • Verify software dependencies • Ensure proper power supply • Update Raspberry Pi OS and libraries • Consult Raspberry Pi forums for specific issues
Conclusion
You've now created a sophisticated, machine learning-powered home security camera using Raspberry Pi. This DIY solution offers flexibility, affordability, and advanced detection capabilities far beyond traditional security systems.