In this comprehensive DIY guide, we'll walk you through creating an advanced AI-powered camera using a Raspberry Pi, enabling real-time computer vision and edge computing capabilities. This project combines affordable hardware with cutting-edge machine learning techniques to create a smart, versatile camera system.
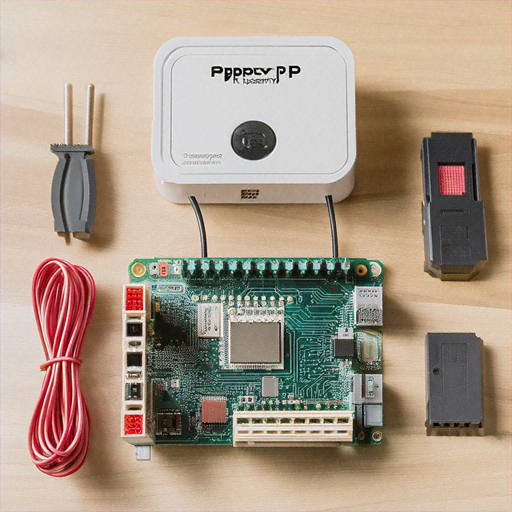
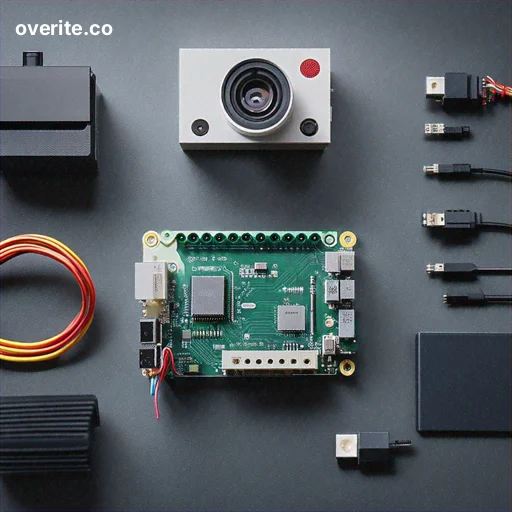
Required Materials
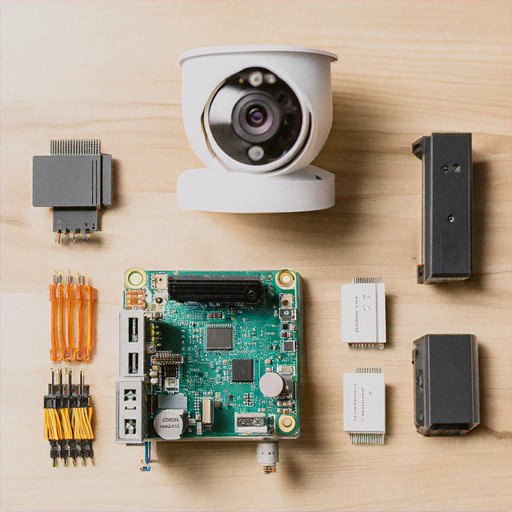
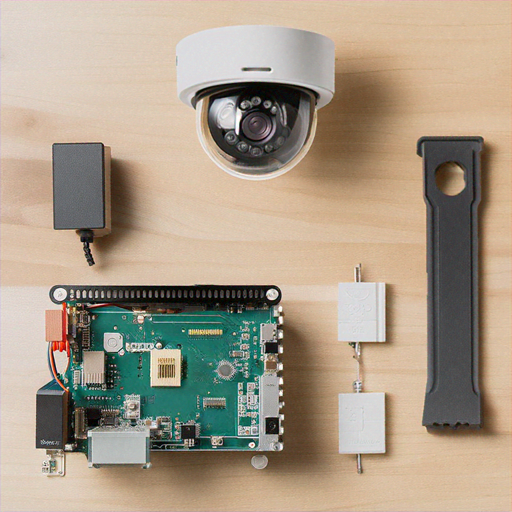
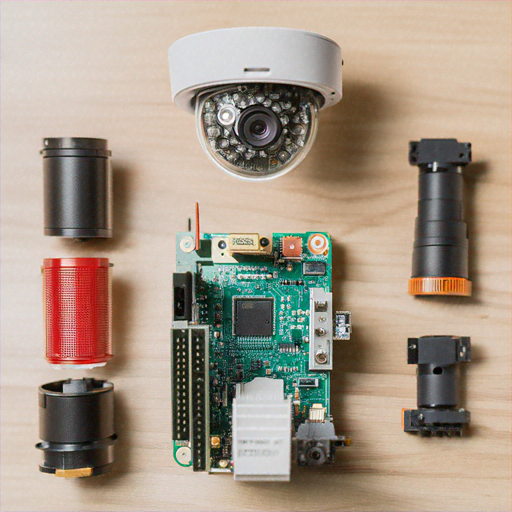
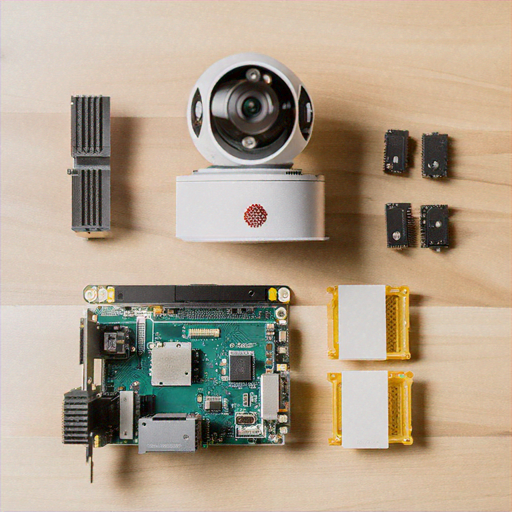
Before we begin, gather the following components: • Raspberry Pi 4 (4GB or 8GB RAM recommended) • Raspberry Pi Camera Module V3 • MicroSD Card (64GB minimum) • Power Supply (USB-C, 5V/3A) • Ethernet Cable or WiFi Dongle • Cooling Case or Heatsinks • Laptop or Desktop for Initial Setup
Step 1: Preparing the Raspberry Pi
Start by preparing your Raspberry Pi for the AI camera project. Download the latest Raspberry Pi OS (64-bit) from the official website. Use Balena Etcher to flash the operating system onto your microSD card. Insert the microSD card into your Raspberry Pi and power it up.
Step 2: Installing Required Software
Open the terminal and update your system packages: sudo apt update sudo apt upgrade -y Install essential development libraries: sudo apt install -y python3-pip python3-venv git sudo pip3 install numpy opencv-python tensorflow These commands prepare your Raspberry Pi with the necessary tools for computer vision and machine learning.
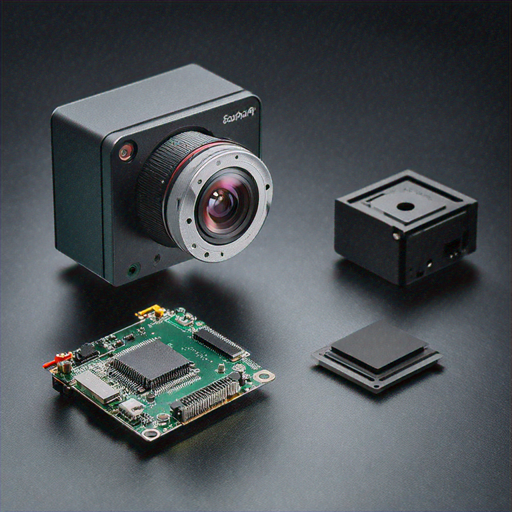
Step 3: Setting Up the Camera Module
Connect the Raspberry Pi Camera Module to the CSI port. Enable the camera in Raspberry Pi Configuration: sudo raspi-config Navigate to "Interfacing Options" > "Camera" and enable the camera. Reboot your Raspberry Pi to apply changes.
Step 4: Developing the Computer Vision Script
Create a Python script that leverages OpenCV and TensorFlow for object detection and recognition. Here's a basic implementation: import cv2 import numpy as np import tensorflow as tf def detect_objects(frame): # Load pre-trained model model = tf.saved_model.load('object_detection_model') # Perform object detection detections = model(frame) # Process and draw bounding boxes for detection in detections: # Implement detection visualization pass def main(): camera = cv2.VideoCapture(0) while True: ret, frame = camera.read() detect_objects(frame) cv2.imshow('AI Camera', frame) if cv2.waitKey(1) & 0xFF == ord('q'): break This script provides a foundation for real-time object detection using machine learning.
Step 5: Implementing Edge Computing Features
Enhance your AI camera with edge computing capabilities by adding local inference and data processing: • Implement lightweight machine learning models • Process video streams locally • Reduce latency and bandwidth usage • Enable real-time decision making Example edge computing features: - Motion detection - Person counting - Object classification - Anomaly detection
Step 6: Network and Security Configuration
Secure your AI camera by implementing network protections: • Use a firewall • Enable SSH with key-based authentication • Set up a VPN for remote access • Implement encryption for data transmission Configure network settings: sudo ufw enable sudo systemctl enable ssh These commands activate basic network security measures.
Advanced Customization Options
Extend your AI camera's functionality: • Add infrared night vision • Implement cloud synchronization • Create custom machine learning models • Develop a web interface for remote monitoring • Integrate with home automation systems
Troubleshooting Tips
Common issues and solutions: • Low performance: Use lighter ML models • Overheating: Add proper cooling • Camera not detected: Check ribbon cable connection • Software conflicts: Use virtual environments Recommended debugging tools: - htop (system resource monitoring) - tensorboard (ML model visualization) - rpi-update (kernel and firmware updates)
Conclusion
Congratulations! You've successfully built a Raspberry Pi-powered AI camera with computer vision and edge computing capabilities. This project demonstrates the incredible potential of affordable, accessible technology for creating intelligent systems.
Continuous learning and experimentation are key to mastering edge computing and computer vision technologies. Keep exploring, modifying, and improving your AI camera project!